As you know I posted the directions for my Poinsettia Flower Ornament here on the blog a few weeks ago. (I had also created directions for my Halloween Sampler, and posted that up at Craftsy for a fee.) It occurred to me that the directions for the simple poinsettia flower might be a nice thing to post for free, so that's what I did.
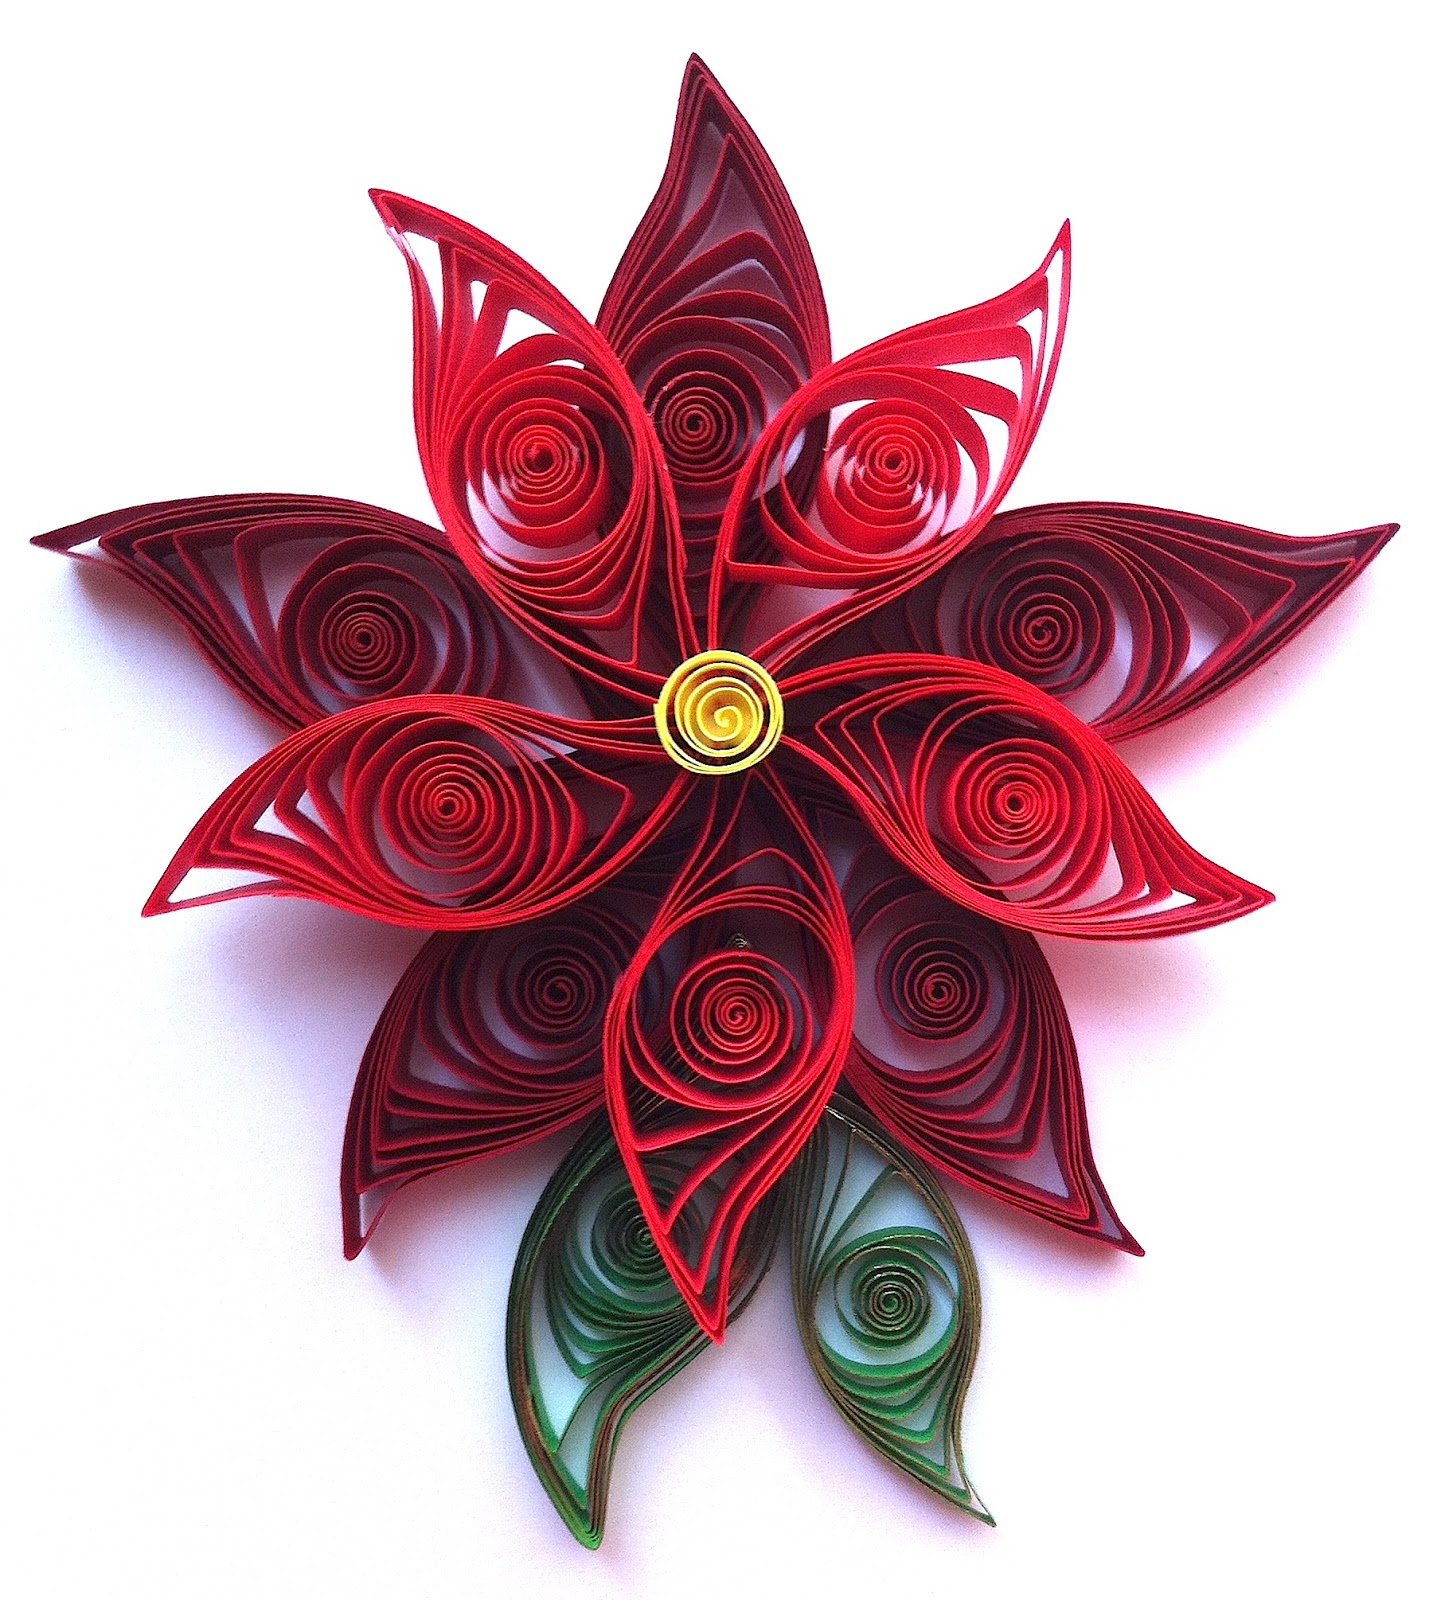
I am astonished to say that the Poinsettia Flower Instructions have been downloaded from Craftsy more than a hundred times already! This means a couple of things to me - people really like free patterns (of course) but also, that there is a demand for really simple quilling patterns. I am surprised, actually, but it has been ages since I was a beginner at quilling. I'm having a little trouble imagining what it is like ... especially since there was no internet nor computers when I first started. I learned all my material from books or from patterns I purchased.
These days, of course people are turning to the internet before anything else. Why buy a potentially expensive book when you can download patterns for free, and get all your instructions on free videos from various sites? Seems like a smart way to start and see if you like a craft before making more of an investment in time and money.
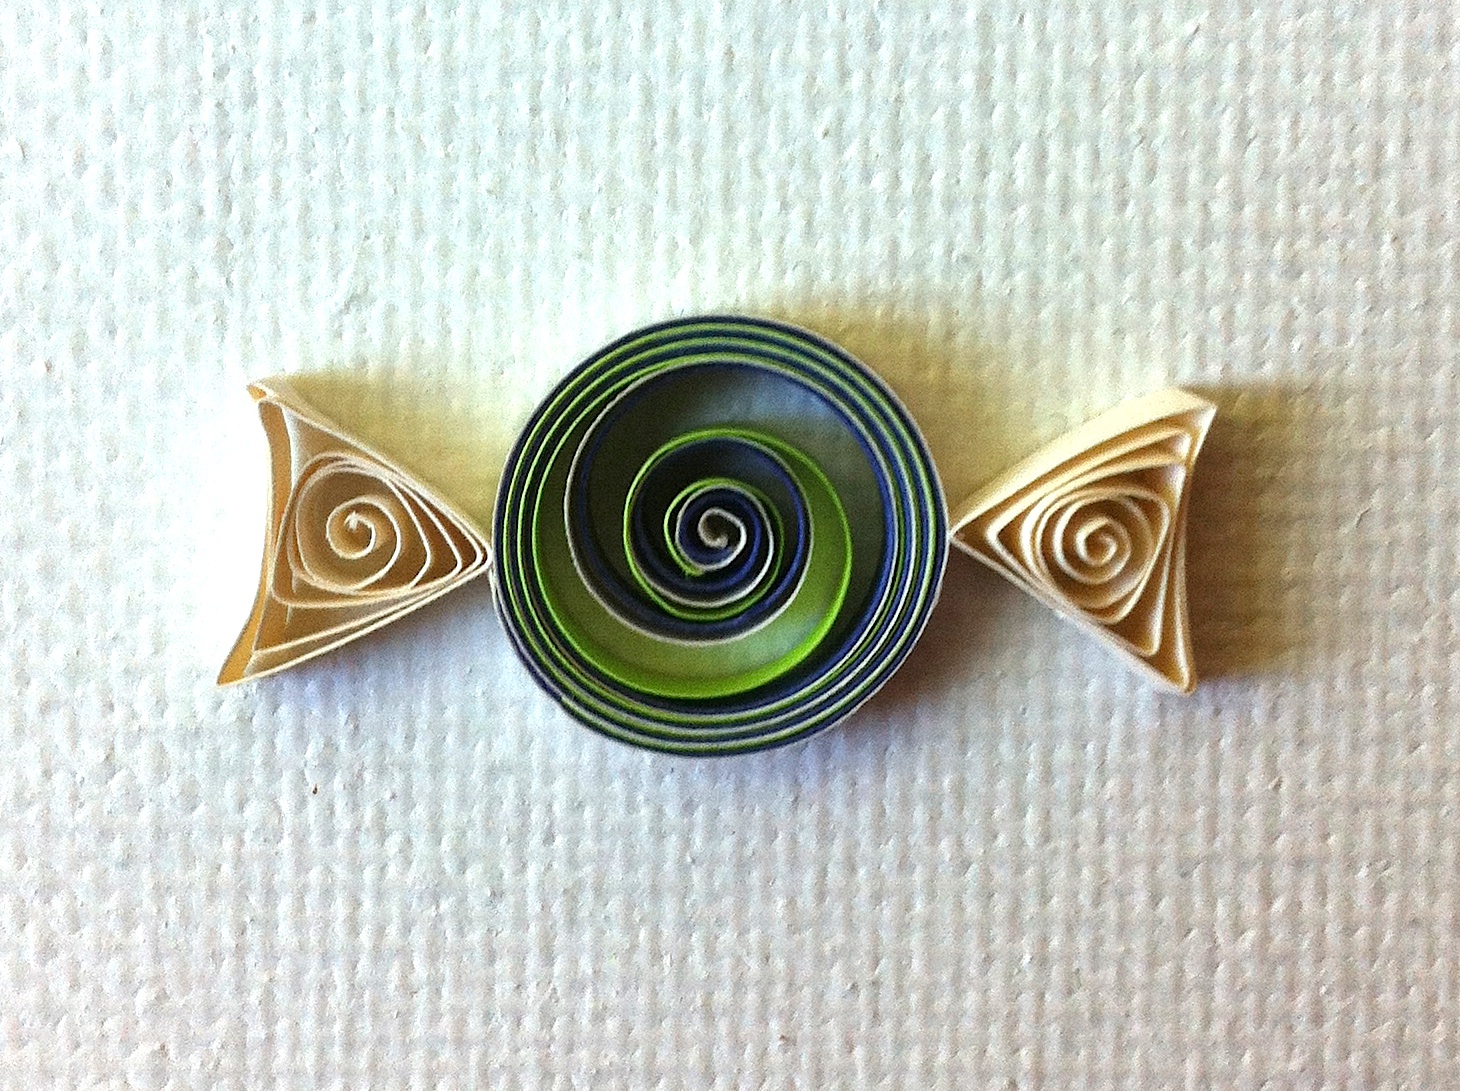
So I'll be thinking of ways to post other, small, free patterns and hope they are as useful and popular as the poinsettia! I wish I had written down the directions for my candy cane when I made it. I'll have to be more thorough when I make new pieces - someone else might want to make them, too!
Showing posts with label my updates. Show all posts
Saturday, September 26, 2015
Thursday, September 17, 2015
Halloween Sampler - First Projects
As promised,
I'm going to post the instructions for my Quilled Halloween Sampler here on the blog. This is the third post; time to get into the projects!
First post - Halloween Sampler
Second post - General Instructions and Mat board
And remember, if you want to download all the instructions right now in one go, then head over to Craftsy where I have them posted for $3.99.
BONUS Project: Quilled Candy in Wrappers
Materials:
- white, 6 strips at 4” long (wrapper)
- white, 3 strips at 8” long (candy)
- bright yellow, 1 strip at 8” long (candy)
- light red, 1 strip at 8” long (candy)
- purple, 1 strip at 8” long (candy)
- orange, 1 strip at 8” long (candy)
- black, 1 strip at 8” long (candy)

Here is an easy project to start off that’s not shown in the sampler – quilled candy in ‘wrappers.’ Start by stacking (right on top of each other, NOT end to end) the red, yellow, and white strips all at once. The white strip should be on the ‘bottom.” Roll the three strips up all at the same time. The three colors swirl together as you roll them. Make sure the white ends up on the ‘outside.’ Form a circle (the colored strips might need to be trimmed to hide them under the white.)
Make two triangles with 4" of white paper each. Curve one side. Glue these with the curved side out, to either end of the circle. Repeat with a stack of green/purple/white, and then a stack of orange/black/white.
Project #1: Flying Bat
Materials:
- black, 8 strips at 6” long (wings)
- black, 1 strip at 9” long (body)
- black, 2 strips at 2” long (ears)
- black, 3 strips – from ¾” long to 1.5” long (small bats)
- bright yellow, 1 strip at 10” long (moon)

First make eight circles with the 6" black strips. Form these into triangles, but curve one side of each. Glue these together as shown to form two wings. (Each wing has three triangles pointed ‘up’ and one pointed ‘down’.)
For the body, take a 9" black strip and make a teardrop. Take 2" black strips and form them into long triangles for the ears of the bat. Glue the pieces together.
Take three black strips that are from 3/4" to 1.5" and make "M" shapes (other bats). Use a 10" strip of bright yellow in the form of a crescent to serve as the Moon.
Glue these pieces into the mat board – right side middle square.
Image Credit - My pix of my quilling, my designs
First post - Halloween Sampler
Second post - General Instructions and Mat board
And remember, if you want to download all the instructions right now in one go, then head over to Craftsy where I have them posted for $3.99.
BONUS Project: Quilled Candy in Wrappers
Materials:
- white, 6 strips at 4” long (wrapper)
- white, 3 strips at 8” long (candy)
- bright yellow, 1 strip at 8” long (candy)
- light red, 1 strip at 8” long (candy)
- purple, 1 strip at 8” long (candy)
- orange, 1 strip at 8” long (candy)
- black, 1 strip at 8” long (candy)


Make two triangles with 4" of white paper each. Curve one side. Glue these with the curved side out, to either end of the circle. Repeat with a stack of green/purple/white, and then a stack of orange/black/white.
Project #1: Flying Bat
Materials:
- black, 8 strips at 6” long (wings)
- black, 1 strip at 9” long (body)
- black, 2 strips at 2” long (ears)
- black, 3 strips – from ¾” long to 1.5” long (small bats)
- bright yellow, 1 strip at 10” long (moon)


For the body, take a 9" black strip and make a teardrop. Take 2" black strips and form them into long triangles for the ears of the bat. Glue the pieces together.
Take three black strips that are from 3/4" to 1.5" and make "M" shapes (other bats). Use a 10" strip of bright yellow in the form of a crescent to serve as the Moon.
Glue these pieces into the mat board – right side middle square.
Image Credit - My pix of my quilling, my designs
Thursday, September 10, 2015
Quilled Halloween Sampler
I've been considering making a sampler of quilled Halloween projects for a long time. I love Halloween, and often use small designs and motifs on place cards, tags, ornaments, wall art, and more. I've never bothered to actually write down any of my designs before - so they come out differently every year, AND I have to spend extra time and paper trying to figure out what I did the last time around :)
So this year I spent the time and effort to record all my paper widths, lengths, and shapes as I worked. I also took a few pictures of the intermediate stages as I went along. I realized when I was close to finished that I might not be the only person who would like to use the directions. So to make up some of the resources I used, and to cover some of the time (it took a loooong time to write this up), I decided to post all the instructions for a fee over at Craftsy. So if you are in immediate need of some ideas for Halloween, look no further! You can download all 16 pages of Halloween packed PDF for $3.99.
OR if you can wait, and don't have the extra $$, then keep your eyes here on the blog. I'm going to post all the instructions in pieces right here between now and Halloween!
Here's the blurb from over at Craftsy:
The Quilled Halloween Sampler Instructions will tell you how to make nine different small Halloween themed projects (plus a bonus project!). The 16 pages are packed with pictures and ample details of paper quilling for you to recreate the sampler, or use it to come up with your own scary ideas!
These spooky designs can be used together to form a framed Halloween sampler group, or they can be used separately on greeting cards, gift tags, place settings, ornaments, wall art, or in whatever way suits your fancy! You can be creative and detour from the exact directions whenever it suits you and your project needs.
Some of the projects are very quick, while others are a little more involved, so you can fit the projects to the time you have available. Most of the designs are suitable for someone who knows the basics of paper quilling (beginner), while a few others are suitable for an intermediate level of quiller.
Most of the designs and motifs will be familiar, like bats and pumpkins, while others will be more unusual, like vampire fangs and skeleton keys. Let your creepy side out and enjoy some Halloween fun with the Quilled Halloween Sampler!
Labels:
beginner,
cards,
crafts,
Halloween,
holidays,
instructions,
intermediate,
motifs,
my updates,
ornaments,
paper,
paper crafts,
papercrafts,
patterns,
projects,
quilling,
sampler,
tips and tricks,
tutorial
Saturday, September 5, 2015
Quilled Holiday Ornaments for the Charity Project
In the end I quilled three ornaments for the "Quilled Ornament Charity Project" (even though when I made the poinsettia, I said I'd only make two). I knew from the beginning that I didn't want to make snowflakes, since I am assuming Carie is going to get sent a ton of snowflakes. So I concentrated on other designs that I thought would look good in a green tree.
The candy cane idea came to me as I was considering how I could use white paper for something other than snow. I made the entire candy cane out of white, and then for the stripes, I just wound one long red strip around the piece and glued the ends down. To add some interest, I embellished with a sprig of holly. The star is made only from triangles, circles and eye shapes in white and yellow. Hopefully it doesn't look too much like a snowflake :) I didn't want to make it solid yellow, though, since I thought that would been a little boring to look at ...
So off they go to their new home, to be placed on a tree and auctioned off for charity. Remember that the deadline for ornaments is October 15! There is still plenty of time to quill a piece or two and send it off. Shipping is cheap because they hardly weigh anything at all :)
Image Credit: My pic of my own ornaments. Designed by me.
Labels:
charity,
Christmas,
flower,
holidays,
my updates,
ornaments,
paper,
paper crafts,
papercrafts,
projects,
quilling,
star
Wednesday, September 2, 2015
Work in Progress - Dragon, Update Three, Final!
Dragon has been entered in a CONTEST! Please VOTE for him! He is project #14 on facebook at Little Circles at https://www.facebook.com/LittleCirclesEverywhere All you need to do to vote is to 'like' the dragon. Voting only goes on for a few days, September 2-4, so please skip on over there soon! Check out the competition, it's pretty fierce. Some beautiful pieces of quilling! If dragon gets enough votes to get into the top ten, he goes on to the next round of judging!
![]() |
Gorgeous dragon face! |
It was in the face and crown that I strayed the furthest from my colored line art. The crown is formed from layered curls instead of wisps of colored paper. I liked this look better - it was lacy and seemed more substantial than what the line art might have called for. Also the eye and the area around it should have had some blue and green, but I chose to keep the color scheme consistent with orange, so it would grade nicely into the 'fire.'
![]() |
Side shot of dragon, showing his dimensional nature The body, face, and tail are all on different levels and so dragon is almost 3/4 of an inch thick. |
Then, with all the pieces in hand, I finished them up with spray and proceeded to glue them together. This step also took a long time, since this dragon is very dimensional. It is assembled in four different levels. I had to place pegs onto the back of some of the levels to support them, with a few pegs doubled up to give them enough height. Then I glued the lower half of the body to the top, and he was finished!
And now he is to be shipped off to his forever home! It is always bitter-sweet to say goodbye to a project, since I get so attached to them. But as usual, when I have in mind to give a project away, it never feels right until that person has received the gift. Then ... well ... next project!
Monday, August 31, 2015
Quilled Lotus Flower Earrings with Pearls

Anyway, I got the urge to make lotus flowers, even though I've never done it before. I have a lot of books on meditation, many of them with different depictions of lotus flowers on the cover. I decided to do something simple, and used a five petal design to mimic the flower. To add some depth to them I used pearlized paper in two colors for each of the petals. So the colors are white/grey, blue/green, and pink/lilac. You can see the colors better in the inset images.
The pearl paper gave me the idea of making earrings using Swarovski pearls. I make a lot of gemstone jewelry, and this seemed like a perfect way to use the flowers. Except for that post I wrote earlier where I said I don't like to make quilled jewelry. Well, I'm eating my words, here.
So I added an open circle to the bottom of each flower and used that to attach color coordinated Swarovski pearls in pink, purple, and white. All the findings are silver or silver toned. I really like the way they came out, very light and graceful. I used a great deal of acrylic spray on them, hoping they will be able to stand up to some wear. Now I just have to choose which pair I'm going to keep and which I'm giving away.
Image Credit: My pix of my own quilling work, designs by me.
Labels:
bead,
beaded,
blue,
crafts,
earrings,
flower,
jewelry,
lotus,
meditation,
my updates,
paper,
paper crafts,
papercrafts,
pink,
silver
Saturday, August 29, 2015
Work in Progress - Dragon, Update Two
![]() |
A view of dragon from the last update - neck filled in. |
![]() |
Lower half of body with red and blue outline on the upper half, and orange spines. |
Then I noted that my drawing had outlines of both red and blue. So using single strips I lined the upper side of the body. The effect is subtle, not thick like in the line drawing, but I think it works just fine. You can see this effect better in the second picture, where the lower half of the body is completed.
![]() |
Dragon foot! With claws! |
![]() |
Two thirds of a dragon - just needs three more legs and of course a face :) |
Next update for dragon will hopefully show the finished piece! I'm working just ahead of when these updates are posting, and so am pushing to have dragon all done by the end of the month. And maybe, just maybe, dragon will be submitted to a contest ...
Image Credit: My pix of my dragon.
Labels:
blue,
crafts,
dragon,
green,
my updates,
paper,
paper crafts,
papercrafts,
patterns,
projects,
quilling,
red,
yellow
Saturday, August 22, 2015
Work In Progress - Dragon, Update One
![]() |
My favorite wood handle quilling tool and a few pieces of the latest project. |
![]() |
Pick a nice permission-free book of designs. |
As I've mentioned in previous posts, design and motif books are a great source of ideas. I bought a motif book about dragons that was specifically permission-free, so I could do as I liked with the design and the finished product. I spent a long while flipping through the book and trying to make a decision. My friend likes designs with Asian elements, so I chose to narrow the search to Asian dragons. And then I spotted a good one. It was too small for what I wanted, but my copier cured that by expanding the image several hundred percent.
![]() |
Dragon colored in with pencils. Size of the dragon can be seen using my grid, four squares to the inch. |
I was pleased with the result, and figured that this had some great elements to express in quilling. The only concern I had (and have) is the face. Haven't gotten that far (yet). Note that an arm and a leg are behind the main body, and that the tail is also flipped up to be up above part of the body and the lower part of the tail. I wanted to quill this difference - make the dragon dimensional. So I had to plan ahead which pieces needed to be quilled and then glued in what order.
Then came the fun part of just experimenting. I didn't know what size paper I needed, so simply dug through the huge box of spare paper (that I'm sure every quiller has) found some stuff I had a lot of, and used that to figure out what size paper I was going to need to get a given size shape. I figured the scales would be best expressed with teardrop shapes, and the underbelly, well, I just started following the lines. As soon as I knew I had a good, repeatable size and form, I switched to the bright green (that I don't have a ton of) and the bright yellow, and started quilling away. I immediately liked the effect, and was encouraged! I'm always worried when I start a big project - will it "work" or just not look right. I'm pretty sure the body of the dragon, at least is going to look just fine.
Image Credit: My pix of my quilling, and a line art from the book Dragons - A Book of Designs, by Marty Noble. Dragon line drawing is specifically free for use. BUT my quilled version of the dragon is my own design, and I hold the copyright for that.
Labels:
books,
copyright,
crafts,
dragon,
green,
instructions,
motifs,
my updates,
paper,
paper crafts,
papercrafts,
patterns,
projects,
quilling,
tool,
tutorial,
yellow
Sunday, August 16, 2015
The Quilling Archive - A Gallery of Quilling
![]() |
Quilling inside of real seashells - made into ornaments. |
There is so much stuff - wall art, ornaments, miniatures, jewelry, and more. You can see the evolution of my quilling through much of it, but since I started at the age of nine, by the time I was in high school I was pretty proficient. Pieces like these shell ornaments, done when I was about fourteen, show solid technique and an eye for fun. They even include tiny little pine cones. I don't think I'd even imagine filling seashells and turning them into ornaments anymore, which is a shame. :) I don't even recall where I got the idea in the first place.
They are a bit beat up, with a few pieces missing, and a touch faded. But not much, considering decades of sunlight, humidity, and moving from place to place. I'll chalk that up to using a good acrylic sealant, and maybe using a bit too much glue. I've always used a bit too much glue - one of those technique problems I have ...
How about you? What was your first quilling project? How do you preserve your quilling for the ages?
Image Credit - My picture of my own quilling, designed by me.
Labels:
archive,
crafts,
flower,
gallery,
holidays,
my updates,
nature,
ornaments,
paper,
paper crafts,
papercrafts,
quilling
Tuesday, August 11, 2015
Spiral Jewelry - Eyes Always Open

And then the more I thought about it, the more I just wanted to highlight the clasp itself. My mind came up with simpler and simpler designs. Until I realized what I wanted was to not use the "bar" part of the clasp at all, and instead convert the "flower" part into a pendant. So that's what I did, and hung the pendant on a simple chain. (The "circle " portion of the clasp is bigger than a quarter, more like the size of a dollar coin.) I get more compliments on this thing ...
Which is great. I have a lot of jewelry with "spiral" or "coil" themes, which is no surprise at all. And I also have a number of findings and components with that theme, as well, for making new jewelry. I have a few new projects in mind, so keep your eyes on the blog for when they appear.
Image Credit: My pic of my necklace.
Saturday, August 8, 2015
Quilled Poinsettia Flower Ornament
As I noted in my last post, there is a need for quilled Christmas tree ornaments for a "Quilled Ornament Charity Project." Click the link for details about the project, and to see if you might be interested in participating!
I have decided to make two ornaments for the project. The first is this quilled poinsettia flower ornament. It is a simple design, but it looks really lovely now that it is all finished. I thought I'd present a tutorial here of what I did, so anyone could make one. Although I've done plenty of live presentations and workshops, this is the first written tutorial I've really done for quilling, so here it goes.
Here's what you'll need ...
Roll the dark red strips and form them into 'leaf' shapes. Glue the ends of the petals together to form a five-petaled flower, as shown. Roll the light red strips and also make 'leaf' shapes. Glue these together to form another five-petaled flower.
Now, you can see my light red flower is a bit smaller than the dark red flower. This was intentional. My dark red paper is very heavy, making a larger coil when it unwinds, and my light red paper is light, rolling tightly and not unwinding so much. So even though the strips are the same length, the petals for the light red flower layer are somewhat smaller. If you are dealing with paper that is the same weight for each color, you'll want to take some of the length off of your light red strips to achieve this effect. I've placed a quarter in the image to give a sense of scale, both so you can see the difference in sizes a little better, and so you can see the size of the whole design. It's more than four inches across at this point.

After the two 'flowers' have dried, stack the light red, smaller layer on top of the larger dark red layer and glue them together, staggering the petals. You might have to be clever with small dabs of glue here and there to ensure the design is sturdy enough to hang from a tree, but doesn't look like it has glue all over it.
Then roll the bright yellow strip into a simple open circle quill and glue that to the center of the design. This was where I'd originally intended to stop. I added a silver jump ring at the top so it could dangle from the tree. But then I took another look and decided the piece needed a but more 'oomph.' So I chose to put a pair of leaves on it. Roll the two green/gold gilded strips and make leaf shapes, as shown. One will be smaller than the other, of course, because the strips are not the same length. You might need to be careful about gluing them. I had to add extra glue to the backs (the not-gold side) to make sure that they didn't 'spring out' like, well, springs, anytime the design was bumped or dropped. (I put it through a few tests ...)
Then I glued them between the bottom petals of the flower, keeping them flat on the work surface. They added just the extra interest and 'bling' I was looking for. Then I coated the design with about three light coats of clear acrylic sealer. I use Krylon Gloss UV protective clear coating for most of my quilling. I like the way it tends to enhance the colors while adding a bit of a sheen. Excellent in this case, athough I use the 'matte' finish rather than the 'gloss' in some situations.
Finished! It's about five inches from top to bottom, and has a nice sturdy feel to it. I hope it shows up well on a six foot tree, and has the durability to survive the whole auctioning process :)
Image Credit - My photos of my new poinsettia flower ornament!
I have decided to make two ornaments for the project. The first is this quilled poinsettia flower ornament. It is a simple design, but it looks really lovely now that it is all finished. I thought I'd present a tutorial here of what I did, so anyone could make one. Although I've done plenty of live presentations and workshops, this is the first written tutorial I've really done for quilling, so here it goes.
Here's what you'll need ...
- Five full strips of dark red quilling paper, 1/4 of an inch wide.
- Five full strips of light red quilling paper, also 1/4 of an inch wide.
- One bright yellow strip, 4 inches long and 1/8 of an inch wide.
- One full strip of green with gold edging, 1/8 inch wide, and another half of a strip of the same color.
- Glue, I use a good quality white craft glue.
- Ideally, a clear acrylic spray to finish the ornament

Now, you can see my light red flower is a bit smaller than the dark red flower. This was intentional. My dark red paper is very heavy, making a larger coil when it unwinds, and my light red paper is light, rolling tightly and not unwinding so much. So even though the strips are the same length, the petals for the light red flower layer are somewhat smaller. If you are dealing with paper that is the same weight for each color, you'll want to take some of the length off of your light red strips to achieve this effect. I've placed a quarter in the image to give a sense of scale, both so you can see the difference in sizes a little better, and so you can see the size of the whole design. It's more than four inches across at this point.

After the two 'flowers' have dried, stack the light red, smaller layer on top of the larger dark red layer and glue them together, staggering the petals. You might have to be clever with small dabs of glue here and there to ensure the design is sturdy enough to hang from a tree, but doesn't look like it has glue all over it.

Then I glued them between the bottom petals of the flower, keeping them flat on the work surface. They added just the extra interest and 'bling' I was looking for. Then I coated the design with about three light coats of clear acrylic sealer. I use Krylon Gloss UV protective clear coating for most of my quilling. I like the way it tends to enhance the colors while adding a bit of a sheen. Excellent in this case, athough I use the 'matte' finish rather than the 'gloss' in some situations.
Finished! It's about five inches from top to bottom, and has a nice sturdy feel to it. I hope it shows up well on a six foot tree, and has the durability to survive the whole auctioning process :)
Image Credit - My photos of my new poinsettia flower ornament!
Labels:
charity,
Christmas,
crafts,
flower,
holidays,
instructions,
my updates,
nature,
ornaments,
paper,
paper crafts,
patterns,
quilling,
red,
tutorial
Friday, August 7, 2015
A Flowery Dilemma
Long ago I started work on a paper quilling border for a friend's wedding invitation. It was a lovely invitation, in shades of ivory and pink, and I figured a bell and a number of flowers in the right shades would set it off nicely. The project stalled for a while while I dealt with "life" and by the time I got back to it ... well, the couple wasn't a couple anymore. (So this says something about the amount of time it takes me to do a project, or something about marriages. Probably both :)
Anyway, here I show a smattering of the pieces I made for the quilled invitation. I've kept them for more than a decade, wondering what to do with them. It feels a little strange to use them for some other project when their original project ended so, um, poorly. (Not that I'm superstitious.) Still, I don't like to waste, and this is perfectly good quilling.
Ever been in this strange position? How do you put the quilling to good use? I'm thinking I'll break up the set completely and just use bits and pieces here and there ... it's the best idea that I have.
Image Credit: My pic of my quilling.
Subscribe to:
Posts (Atom)